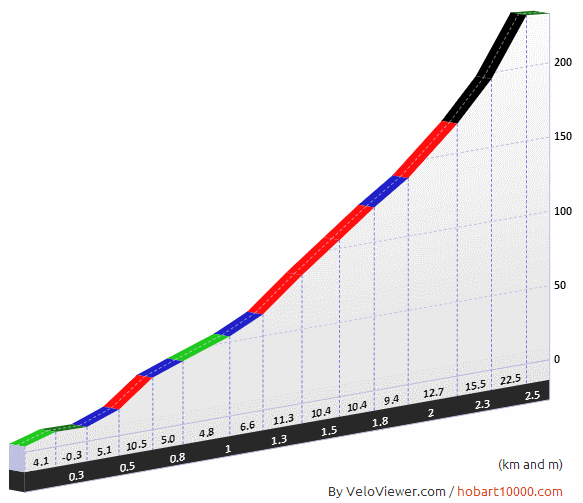
 The gradient profile is one of the coolest features on VeloViewer giving your own rides that Pro Tour feel. But did you know that the wider your browser window the more detailed the profile will become?
Thanks must again go to Marc Durdin whose code to provide profiles for the Hobart 10,000 ride was the starting point for what you see now.
Segment on the right is Yorkshire’s Fleet Moss, one of the UK’s 100 Greatest Cycling Climbs and is as painful as it looks. 2014 Tour de France will go past the foot of this climb but unfortunately will be taking the much less dramatic climb to the north of Hawes.
Often the change is quite subtle but if you’re wanting to take a screenshot of a profile to paste on your blog then it certainly makes sense to try and get the most impressive view of that segment!
A Comparison
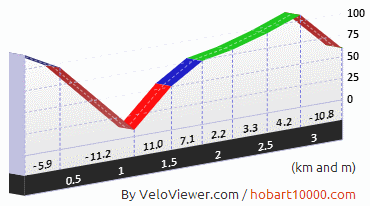
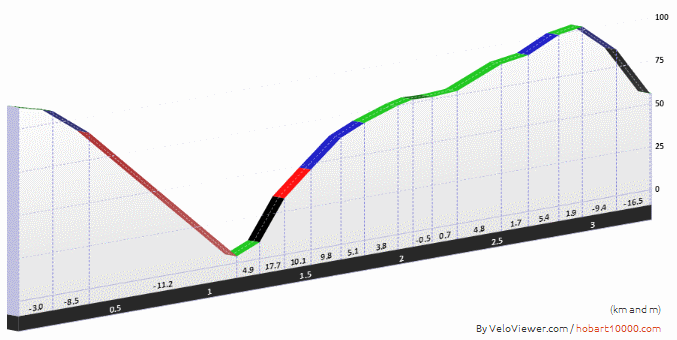
The following 2 images are for the same segment and show the difference in detail between a narrow browser view and a much wider browser view:
As you can see, in the wider picture you unsurprisingly get more gradient sections but now we have got to a low enough level of detail to show off some of the steepest sections of the segment. Obviously there is a bit of a trade between level of detail and size of the image but you can always scale a larger image down.
How to get more detail in your gradient profiles
When the Segment Details page is full screen in your browser then it will take up half of the page. That might seem like the limit of the detail you can see but there are ways to see more:
- Increase your computer’s screen resolution if you’re not already maxed out.
- Stretch browser across multiple monitors if you have them.
- But the easiest way is to just use the built in browser zoom. Available via the browser’s menu but usually pressing “Ctrl -” (zoom out) causes the profile to redraw at a smaller scale (“Ctrl 0” should reset to 100% zoom). A bit of quality is lost though.
Once you find the sweet spot between getting the right amount of detail and image size then it is just a matter of performing a screen grab, crop the image and paste it into your blog. Always good to add a link back to the Segment Details page in VeloViewer just so your readers can see it in proper context.

